A Step-by-Step Guide to Painting a Room Like a Pro


Preparation is Key
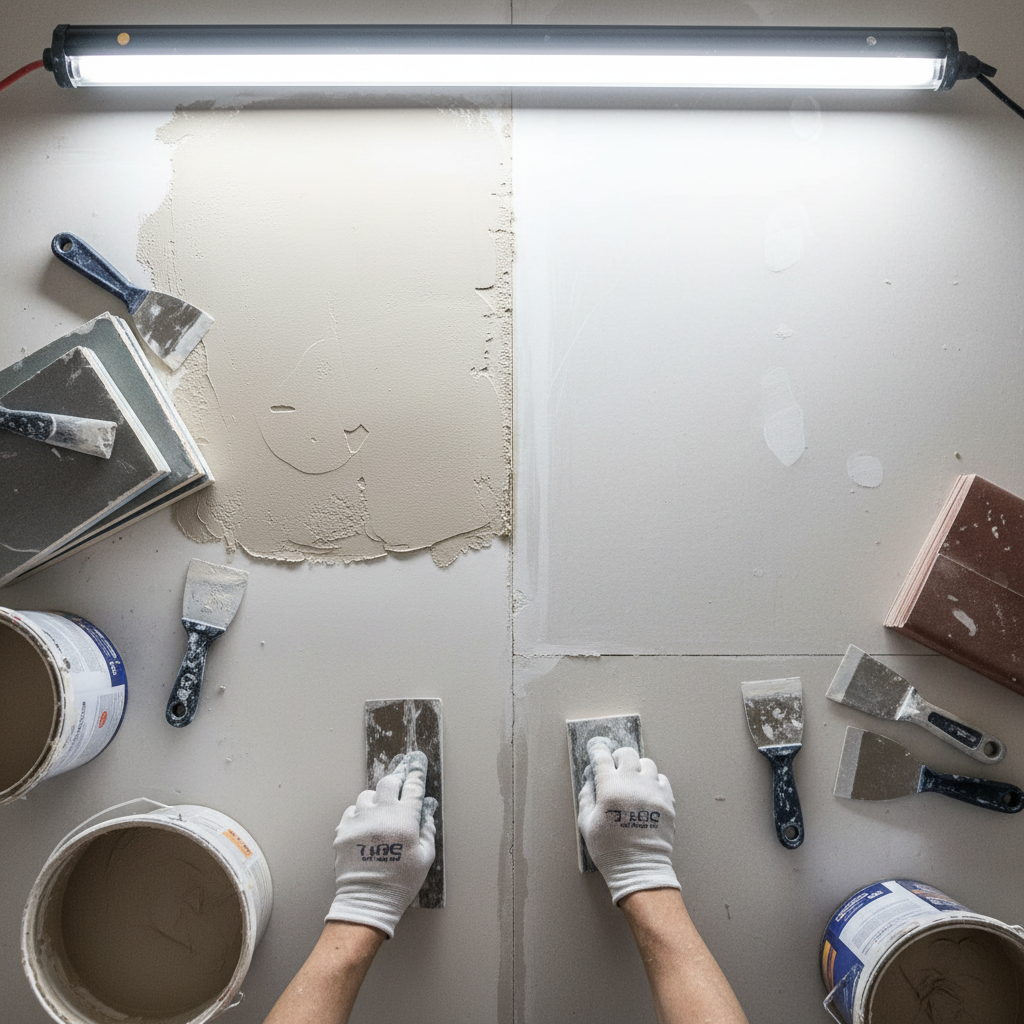
Before you start painting, it's essential to prepare the room properly. Begin by removing all furniture or covering it with drop cloths to protect against paint splatters. Next, clean the walls to remove any dust or grime that may affect the paint's adhesion. Finally, use painter's tape to mask off trim, windows, and any other areas you don't want to be painted.
Choosing the Right Tools and Paint
Selecting the right tools and paint is crucial for a professional finish. Invest in quality brushes and rollers, as they will make a significant difference in the application. When it comes to paint, choose a finish that suits the room's purpose—matte for a cozy vibe, eggshell for a slight sheen, or semi-gloss for areas that need frequent cleaning like kitchens and bathrooms.
Priming the Walls
Priming is a step that many DIY painters might overlook, but it's important for achieving a uniform finish. Apply a coat of primer to help the paint adhere better and to cover any existing stains or colors. This is particularly crucial if you're painting over a darker shade with a lighter one.
Cutting In
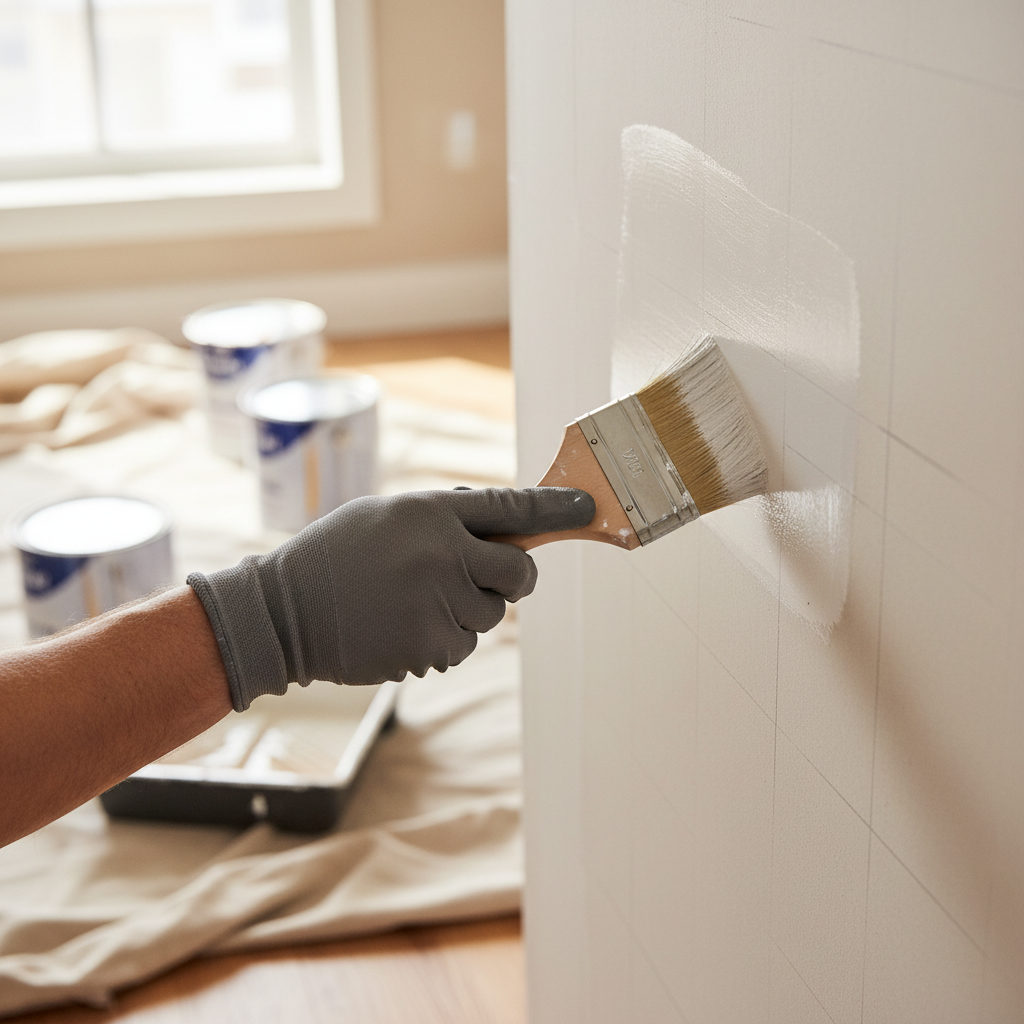
"Cutting in" refers to painting the edges and corners of the room before using a roller on the larger surfaces. Use a small, angled brush for precision, and take your time to ensure clean lines. This step ensures that you won't accidentally smudge paint onto the ceiling or adjacent walls.
Rolling on Paint
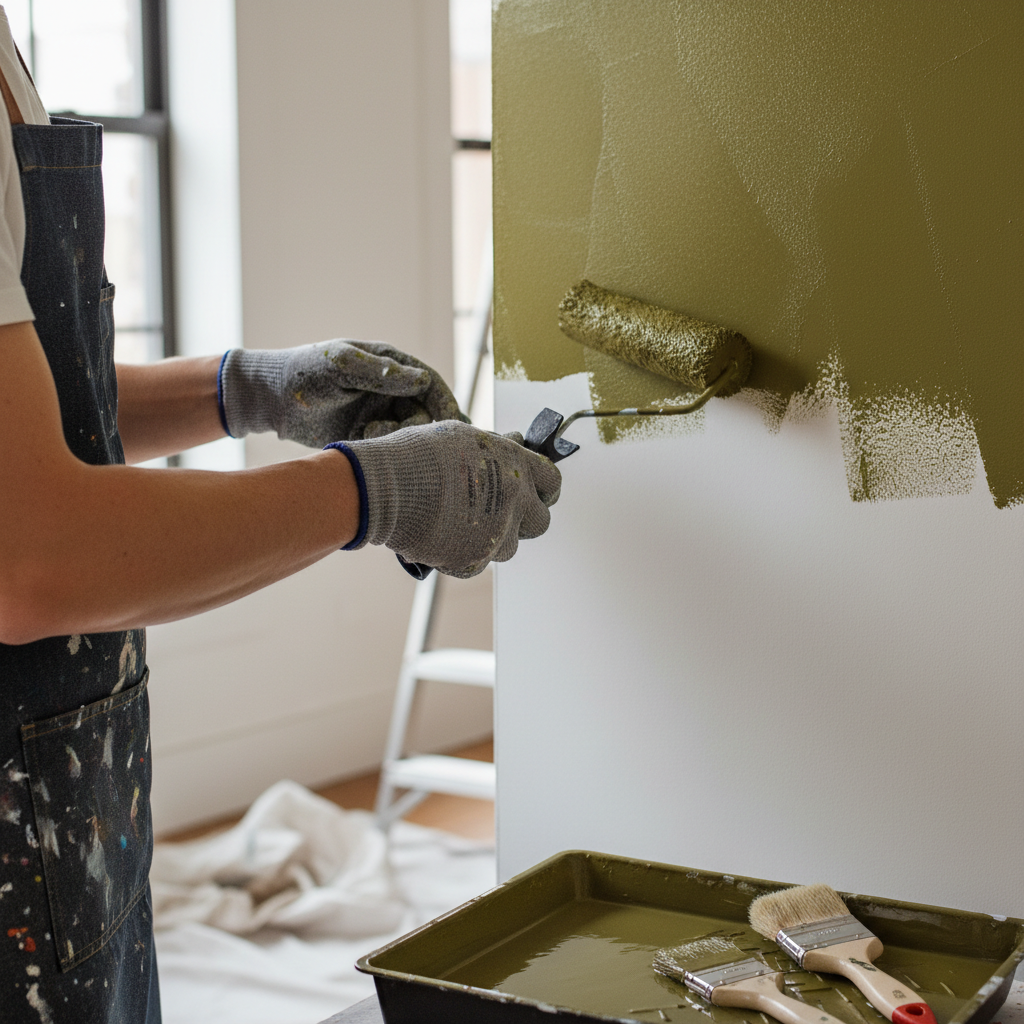
With the edges neatly cut in, you're ready to roll. Pour your chosen paint into a tray, load the roller evenly, and apply it to the wall using a "W" pattern. This technique helps distribute the paint evenly and avoids streaking. Work in small sections to maintain a wet edge and avoid lap marks.
Multiple Coats for Perfection
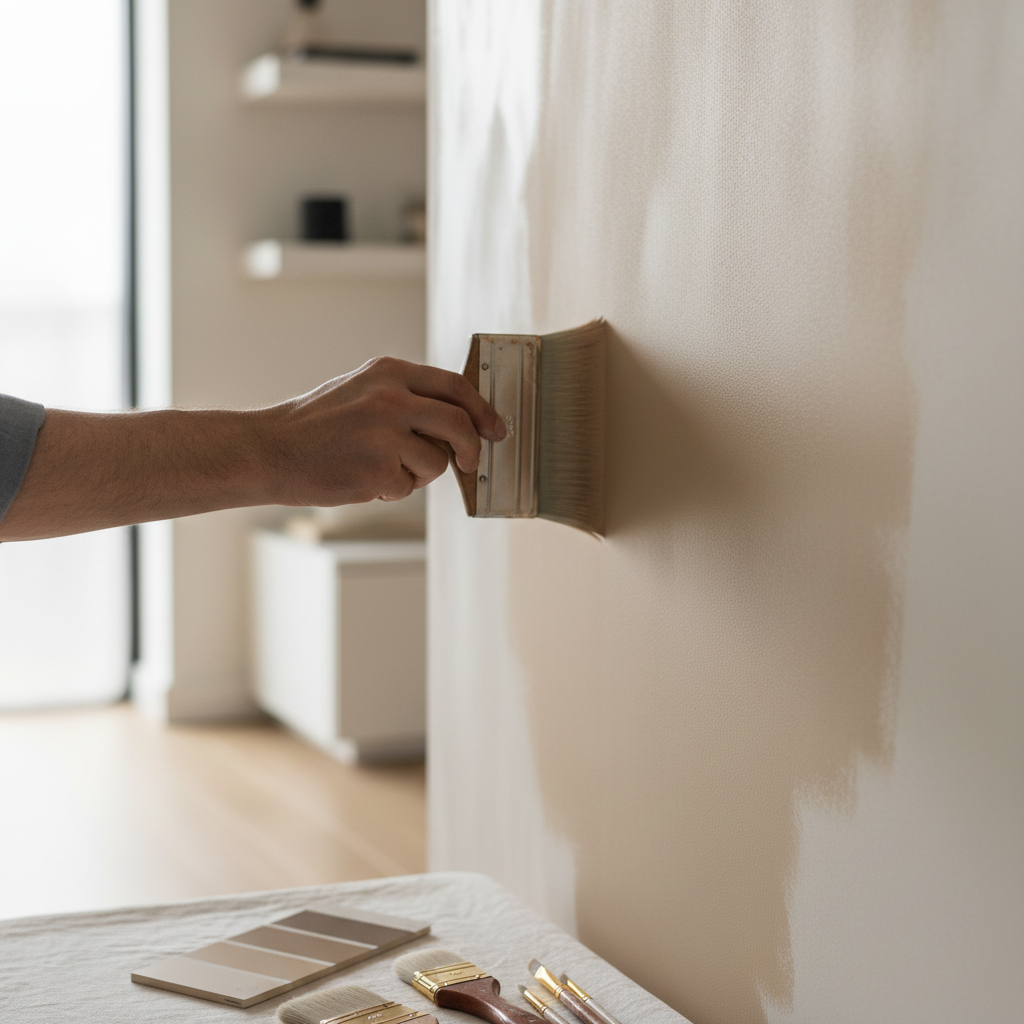
For the best results, apply at least two coats of paint. Allow each coat to dry completely before applying the next one to avoid peeling or uneven texture. Multiple coats ensure a rich, consistent color and help hide any imperfections in the walls.
Final Touches
Once your final coat is dry, remove the painter's tape carefully. Use a utility knife to cut along the edges if the tape sticks. Touch up any areas where the paint may have bled through or missed spots. Reinstall any hardware or fixtures you removed, and replace the furniture.
Cleaning Up
Proper clean-up is essential for maintaining your tools and leaving your space in good condition. Wash brushes and rollers with warm, soapy water if you used latex paint, or mineral spirits for oil-based paints. Dispose of any leftover paint responsibly, and enjoy your newly transformed room!